
Honey Wheat Bread Machine Recipe – Soft & Easy 2-Lb Loaf
Disclosure: This post may contain affiliate links. As an Amazon Associate, I earn from qualifying purchases at no additional cost to you.
I originally invested in a bread machine for one very practical reason: my son loves peanut butter sandwiches.
We go through a lot of bread in our house. My husband loves bread too, so buying loaf after loaf from the grocery store started adding up. Eventually I thought, Why not make our own?
That’s when I decided to invest in a bread maker.
I love being able to make fresh bread at home with simple ingredients and without adding artificial preservatives. It also helps us save money on something our family eats all the time—and honestly, I love that the bread machine does most of the work for me.
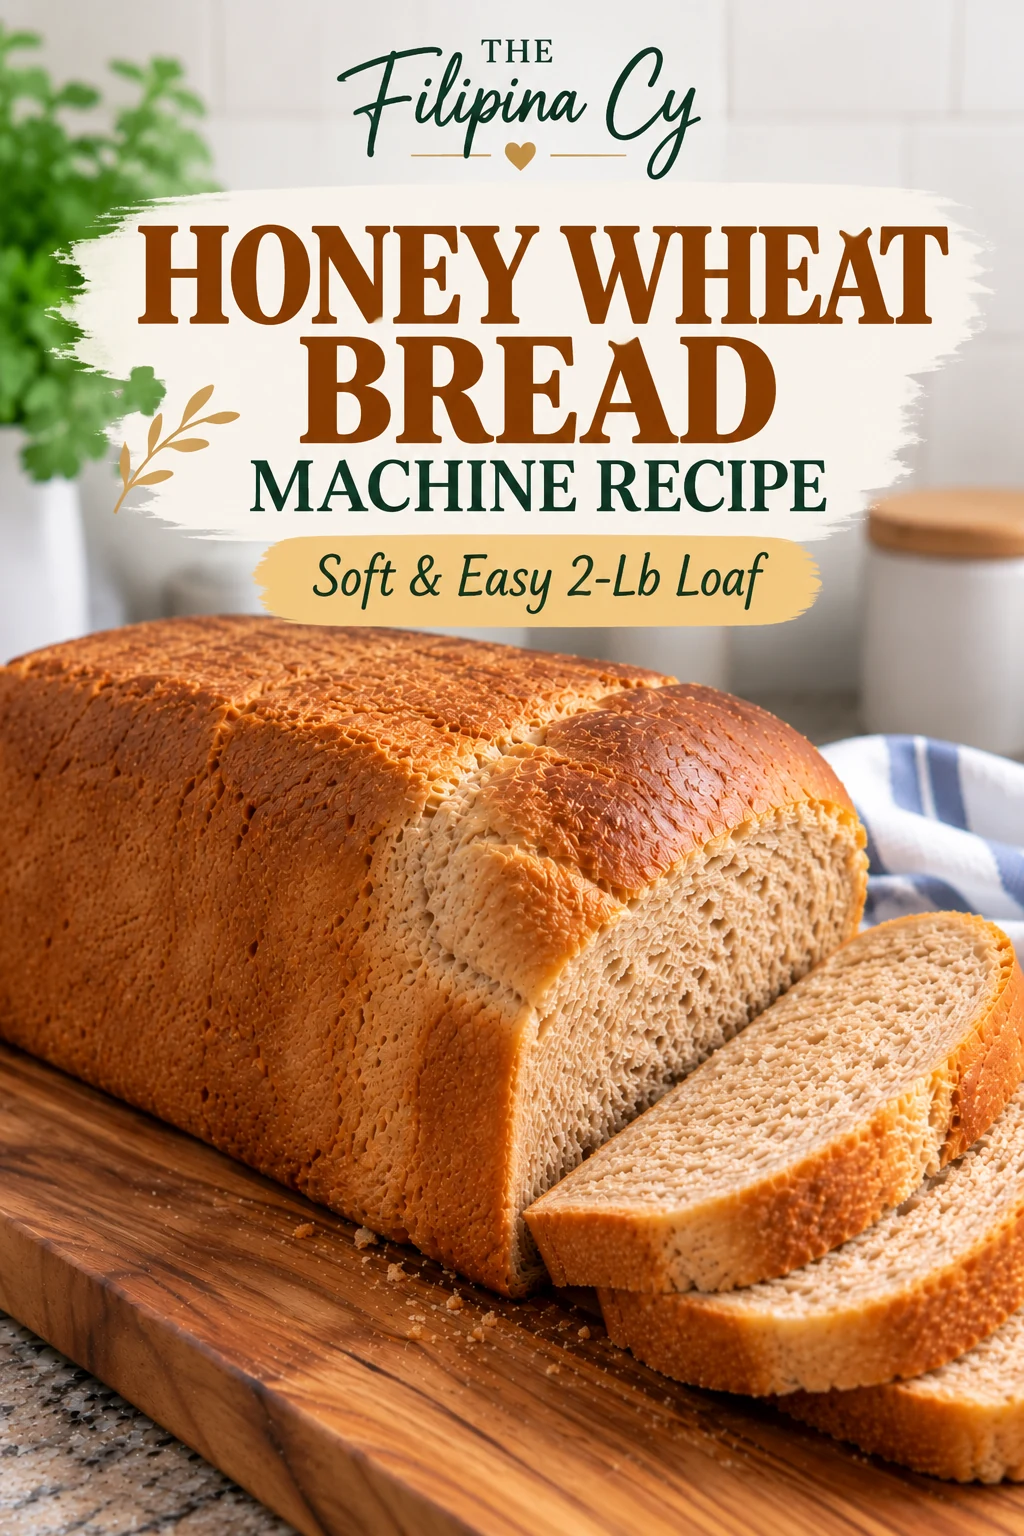
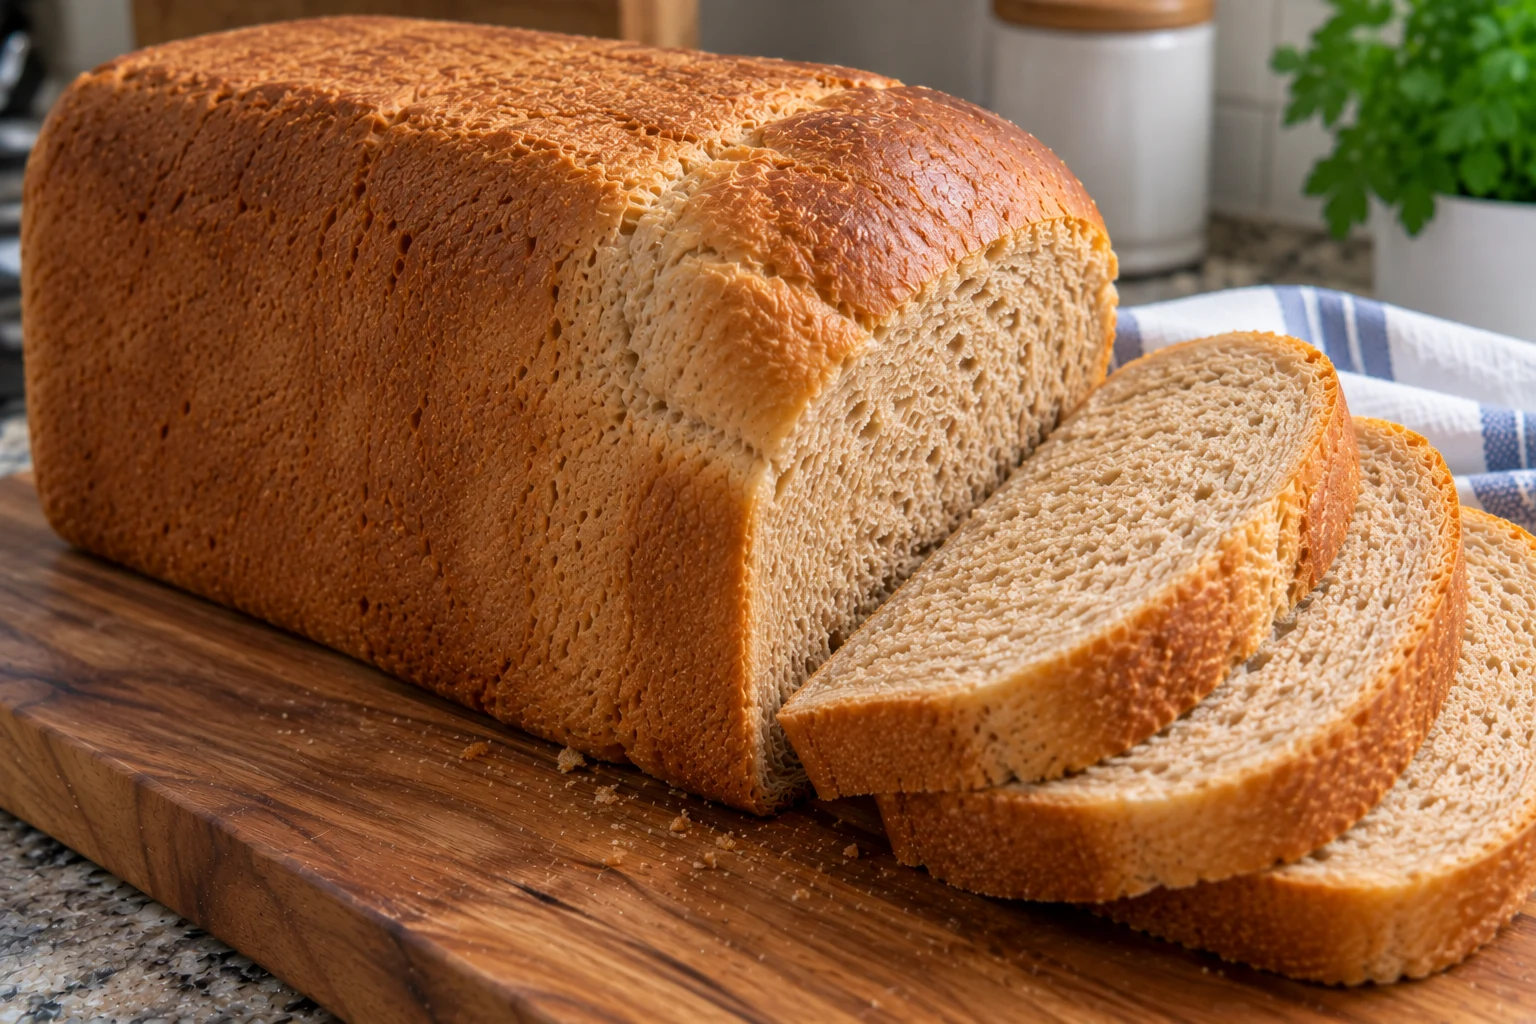
This Honey Wheat Bread Machine Recipe makes a big 2-pound loaf that’s soft enough for sandwiches, slightly sweet from the honey, and has just enough whole wheat flavor without being too dense.
And for my son? It makes the perfect peanut butter sandwich.
Why You’ll Love This Honey Wheat Bread
This is one of those recipes that just makes sense for our family.
- Easy to make – The bread machine handles the mixing, kneading, rising, and baking.
- Soft enough for sandwiches – I use both whole wheat flour and bread flour, so you still get that wheat flavor without an overly dense loaf.
- Made with simple ingredients – Milk, egg, butter, honey, flour, salt, and yeast. No added artificial preservatives.
- Naturally sweetened with honey – It adds a mild sweetness without making the bread overly sweet.
- Makes a big 2-pound loaf – Perfect for a bread-loving family like mine.
- Helps us save money – Instead of constantly buying sandwich bread, I can make a fresh loaf right at home.
If you love simple recipes that actually work for busy family life, you can find more of my easy family recipes here.
Kitchen Essentials
You really don’t need much for this recipe. These are simply the things I actually use to make, slice, and store our homemade bread.
As an Amazon Associate, I earn from qualifying purchases at no additional cost to you.
The Bread Maker I Use
Of course, the most important one is my bread maker.
I use my Elite Gourmet Bread Maker to make the entire 2-pound loaf—from mixing and kneading to rising and baking.
Once I add the ingredients, I select my settings and let the machine do its thing. That’s probably my favorite part.
The Bread Slicing Guide I Use
One thing I learned pretty quickly after making homemade bread is that getting nice, even slices isn’t as easy as it looks!
Since we use this bread mostly for sandwiches, I use a bread slicing guide to help me get more consistent slices. It’s especially helpful with a tall 2-pound bread-machine loaf.
→ SHOP THE BREAD SLICING GUIDE I USE
If you want a different style or price point, I also have a few other bread slicers you can check out.
The Bread Bags I Use
After slicing the loaf, I store our bread in bread bags I bought from Amazon.
Since homemade bread doesn’t have the added artificial preservatives you find in many commercially packaged breads, I use these as part of the simple storage routine that works for our family.
Ingredients You’ll Need
- 1 cup + 6 tbsp warm milk
- 1 large egg
- 6 tbsp (86 g) butter
- ⅓ cup honey
- 2 cups whole wheat flour
- 2 cups bread flour
- 1½ tsp salt, placed in one corner
- 1½ tsp instant yeast, placed in a small well in the flour
I like using both whole wheat flour and bread flour in this recipe. The whole wheat flour gives us that wholesome wheat flavor, while the bread flour keeps the loaf softer and lighter than an all-whole-wheat bread.
How to Make Honey Wheat Bread in a Bread Machine
This is where the bread machine really earns its place in my kitchen.
1. Add the Wet Ingredients
Add the warm milk, egg, butter, and honey to the bread-machine pan.
The milk should be warm, not hot.
2. Add the Flour
Add 2 cups whole wheat flour and 2 cups bread flour over the wet ingredients.
Spread the flour over the top so it covers the liquid underneath.
3. Add the Salt
Place 1½ teaspoons salt in one corner on top of the flour.
4. Add the Instant Yeast
Make a small well in the center of the flour and add 1½ teaspoons instant yeast.
I keep the yeast and salt separate when I first load the machine.
5. Select the Bread Machine Settings
For my bread machine, I use:
Menu: #1 – Basic
Loaf Size: 2 lb
Crust: Light
Then I press start and let the bread machine take care of the mixing, kneading, rising, and baking. The whole process takes almost 3 hours in my bread machine, so once I press start, I can pretty much leave it alone and let the machine do the work.
Note: Bread machines can vary, so your total time may be different. If your manufacturer recommends a different ingredient order, setting, or cycle time, follow the instructions for your particular machine.
6. Cool the Bread
Once the cycle is finished, carefully remove the bread pan and take out the loaf.
Transfer the bread to a cooling rack and let it cool completely before slicing. For me, this usually takes about 4 hours.
I know freshly baked bread is hard to resist, but don’t rush this step! Letting the loaf cool completely gives the inside time to finish setting and makes it much easier to slice cleanly.
7. Slice the Loaf
Once the bread is completely cool, I use my bread slicing guide to cut the entire loaf into even slices.
It makes such a difference for us because we use this bread for sandwiches, and a 2-pound bread-machine loaf can be pretty tall.
How I Store My Homemade Honey Wheat Bread
Since this Honey Wheat Bread doesn’t have added artificial preservatives, I don’t expect it to stay fresh in the pantry as long as commercially packaged bread.
And because this recipe makes a big 2-pound loaf, I don’t leave the whole thing sitting in our pantry.
Here’s what works for us.
Once the bread has cooled completely, I slice the entire loaf with my bread-slicing guide. Make sure the bread is completely cool before storing it. If it’s still warm, condensation can form inside the bread bag, creating extra moisture that can make the bread soggy and encourage mold to develop sooner.
Then I divide the slices in half.
Half Goes in the Pantry
I put half of the sliced bread into one bread bag and keep it in our pantry.
That’s the bread we eat first—for my son’s peanut butter sandwiches, breakfast, or whenever somebody just wants a slice.
Half Goes in the Refrigerator
The other half goes into another bread bag and into the refrigerator.
Once the pantry bread is gone, we start on the refrigerated half. The bread naturally becomes firmer in the refrigerator, so we toast those slices before eating them.
It’s such a simple little system, but it works really well for us and means we don’t have to rush through an entire 2-pound loaf.
Our Favorite Ways to Eat It
For my son, it’s definitely peanut butter sandwiches. His love for them is actually one of the reasons I bought a bread maker in the first place.
My husband and I love ours with butter or cheese pimiento. We also eat it with eggs or tuna spread.
And sometimes I just eat a slice plain with my coffee—and yes, I dip the bread right into my coffee.
So Filipino!
It’s simple, comforting, and honestly one of my favorite ways to enjoy homemade bread.
And if you’re looking for another recipe my son really loves, try my Creamy Chicken Garlic Parmesan Pasta. He actually told me it tastes like restaurant food!
Honey Wheat Bread Machine Recipe
Ingredients
Equipment
Method
- Add the Wet Ingredients. Add the warm milk, egg, butter, and honey to the bread-machine pan.
- Add the Flour. Add the whole wheat flour and bread flour over the wet ingredients. Spread the flour over the top so it covers the liquid underneath.
- Add the Salt. Place the salt in one corner on top of the flour.
- Add the Instant Yeast. Make a small well in the center of the flour and add the instant yeast, keeping it separate from the salt.
- Select the Bread Machine Settings. Place the bread pan into the bread machine. For my bread machine, I use Menu #1 – Basic, 2 lb loaf, and Light crust.
- Start the Bread Machine. Press start and let the bread machine take care of the mixing, kneading, rising, and baking. The whole process takes almost 3 hours in my bread machine.
- Remove the Bread. Once the cycle is finished, carefully remove the bread pan from the machine, take out the loaf, and transfer it to a cooling rack.
- Let It Cool Completely. Let the bread cool completely before slicing. For me, this usually takes about 4 hours. Letting it cool gives the inside time to finish setting and makes the bread much easier to slice cleanly.
- Slice and Store. Once completely cooled, slice the loaf and store it as desired. Make sure the bread is completely cool before putting it into a bread bag to avoid trapping condensation.
Notes
- Bread machines vary. These are the settings I use with my bread machine. If your manufacturer recommends a different ingredient order or settings, follow the instructions for your particular machine.
- Use warm, not hot, milk.
- Keep the salt and instant yeast separate when initially loading the bread machine.
- Let the bread cool completely before slicing or storing. Mine usually takes about 4 hours.
- Storing bread while it’s still warm can create condensation inside the bag, adding moisture that can make the bread soggy and encourage mold to develop sooner.
- Since this homemade bread doesn’t have added artificial preservatives, I keep half of the sliced loaf in a bread bag in the pantry and the other half in another bread bag in the refrigerator. Once the pantry portion is gone, we eat the refrigerated slices and usually toast them first.
Get My Free Filipino Dinner Starter Kit
If you love simple homemade food, I think you’ll also enjoy my FREE Filipino Dinner Starter Kit.

It includes 5 Filipino recipes, a 5-day meal plan, a one-trip grocery list, and a beginner Filipino pantry guide to make cooking Filipino food at home a little easier.
→ GET THE FREE FILIPINO DINNER STARTER KIT
Homemade Bread That Works for Our Family
What started because my son loves peanut butter sandwiches has turned into one of those little kitchen changes that simply works for our family.
My husband loves having homemade bread in the house, my son gets his peanut butter sandwiches, and I love knowing exactly what ingredients I put into each loaf.
Yes, buying a bread maker was an investment. But considering how much bread we eat, it’s one kitchen appliance that definitely gets put to good use around here.
I add the ingredients, choose my settings, press start, and let the machine do most of the work. And at the end of it, we have a big homemade 2-pound loaf of Honey Wheat Bread ready for sandwiches, breakfast, or—my personal favorite—a slice with butter and coffee.
Sometimes dipped right into the coffee, of course.
If your family goes through sandwich bread as quickly as mine does, I hope you give this Honey Wheat Bread Machine Recipe a try.