Go Back
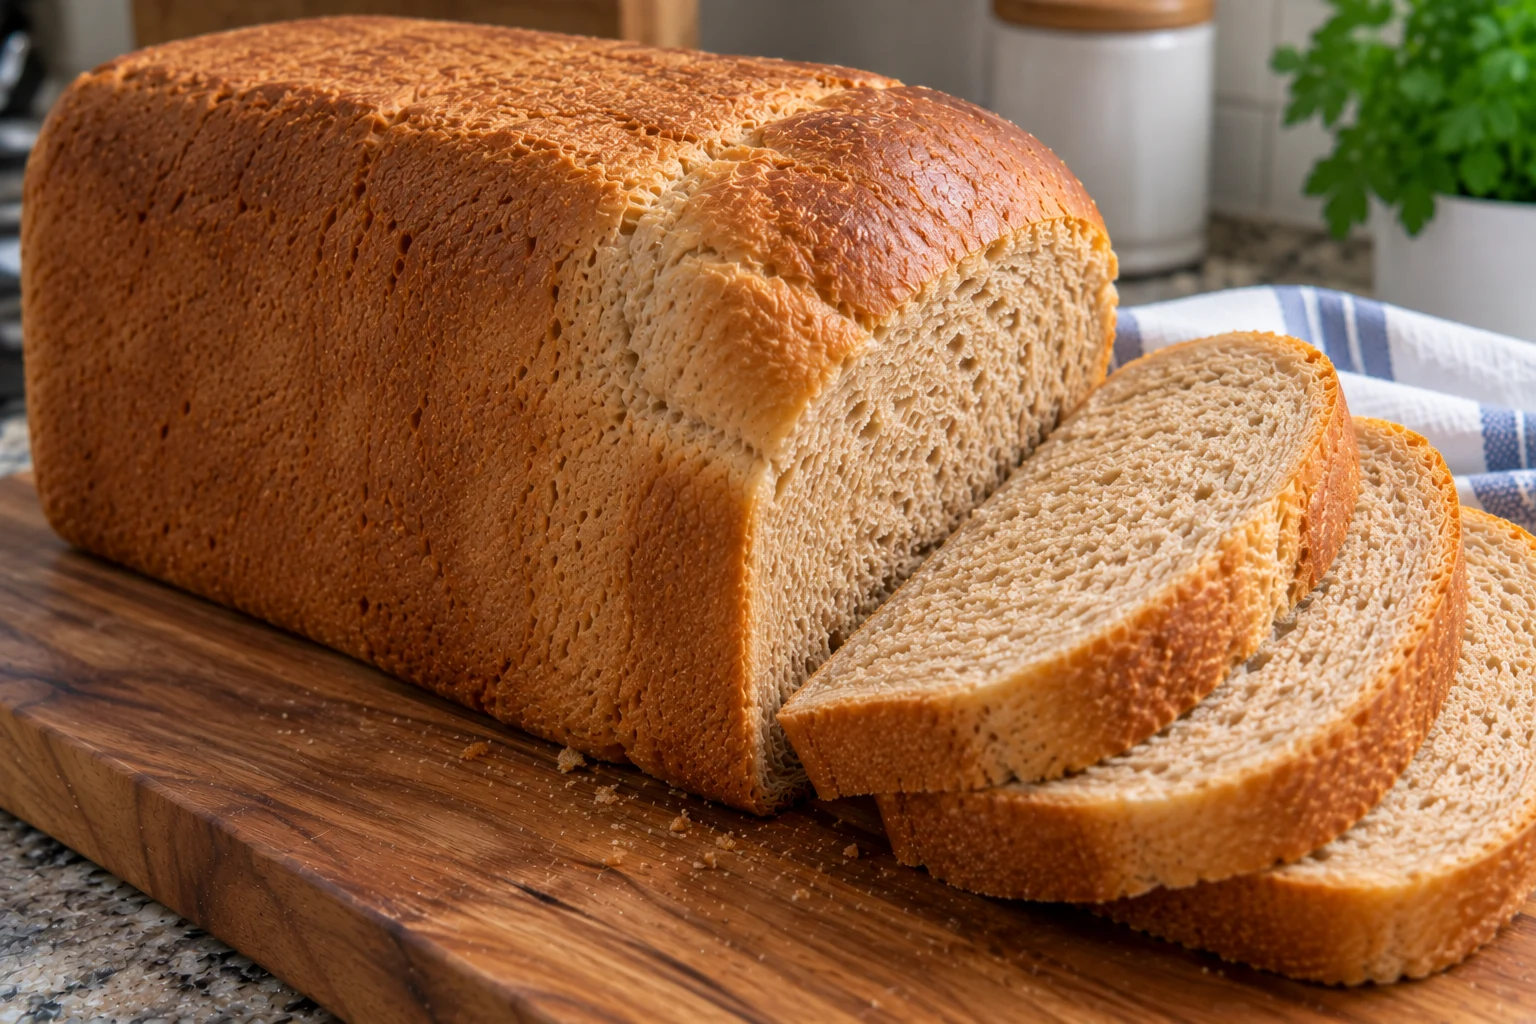
Homemade honey wheat bread machine loaf sliced on a wooden cutting board.
The Filipina Cy

Honey Wheat Bread Machine Recipe

Soft, slightly sweet Honey Wheat Bread made completely in the bread machine. This easy recipe combines whole wheat flour, bread flour, and honey for a family-friendly 2-pound loaf that’s perfect for sandwiches and toast.
Prep Time 15 minutes
Cook Time 3 hours 15 minutes
Additional cooling time 4 hours
Total Time 7 hours 15 minutes
Servings: 1 (2lb) loaf
Course: Breakfast
Cuisine: American

Ingredients
  

  • 1 cup + 6 tbsp warm milk
  • 1 large egg
  • 6 tbsp 86 g butter
  • ⅓ cup honey
  • 2 cups whole wheat flour
  • 2 cups bread flour
  • 1½ tsp salt placed in one corner
  • 1½ tsp instant yeast placed in a small well in the flour

Equipment

  • Bread machine (2-lb capacity)
  • Measuring cups and spoons
  • Cooling rack
  • Bread knife
  • Bread slicing guide (optional, but this is what I use)

Method
 

  1. Add the Wet Ingredients. Add the warm milk, egg, butter, and honey to the bread-machine pan.
  2. Add the Flour. Add the whole wheat flour and bread flour over the wet ingredients. Spread the flour over the top so it covers the liquid underneath.
  3. Add the Salt. Place the salt in one corner on top of the flour.
  4. Add the Instant Yeast. Make a small well in the center of the flour and add the instant yeast, keeping it separate from the salt.
  5. Select the Bread Machine Settings. Place the bread pan into the bread machine. For my bread machine, I use Menu #1 – Basic, 2 lb loaf, and Light crust.
  6. Start the Bread Machine. Press start and let the bread machine take care of the mixing, kneading, rising, and baking. The whole process takes almost 3 hours in my bread machine.
  7. Remove the Bread. Once the cycle is finished, carefully remove the bread pan from the machine, take out the loaf, and transfer it to a cooling rack.
  8. Let It Cool Completely. Let the bread cool completely before slicing. For me, this usually takes about 4 hours. Letting it cool gives the inside time to finish setting and makes the bread much easier to slice cleanly.
  9. Slice and Store. Once completely cooled, slice the loaf and store it as desired. Make sure the bread is completely cool before putting it into a bread bag to avoid trapping condensation.
Notes

  • Bread machines vary. These are the settings I use with my bread machine. If your manufacturer recommends a different ingredient order or settings, follow the instructions for your particular machine.
  • Use warm, not hot, milk.
  • Keep the salt and instant yeast separate when initially loading the bread machine.
  • Let the bread cool completely before slicing or storing. Mine usually takes about 4 hours.
  • Storing bread while it’s still warm can create condensation inside the bag, adding moisture that can make the bread soggy and encourage mold to develop sooner.
  • Since this homemade bread doesn’t have added artificial preservatives, I keep half of the sliced loaf in a bread bag in the pantry and the other half in another bread bag in the refrigerator. Once the pantry portion is gone, we eat the refrigerated slices and usually toast them first.