Ingredients
Equipment
Method
Instructions
- Prepare the vegetables. Finely mince the carrot, onion, garlic, and parsley. I use a food processor to save time when making this large batch, pulsing just until everything is finely minced but not puréed. You can also mince everything by hand.
- Make the filling. Add the ground pork, minced vegetables, eggs, garlic powder, onion powder, black pepper, salt, and oyster sauce to a large mixing bowl. I use my stand mixer on low speed to combine everything evenly, but you can also mix it thoroughly by hand.
- Cook a tester roll. Before rolling the entire batch, make and fully cook one lumpia. Let it cool slightly, taste it, and adjust the seasoning in the remaining filling if needed.
- Add the filling. Lay one lumpia wrapper flat on a clean surface. Place about 1 tablespoon of filling near one edge and shape it into a thin, even line.
- Roll the lumpia. Fold the sides of the wrapper over the filling, then roll tightly toward the opposite edge.
- Seal it. Lightly brush the final edge of the wrapper with beaten egg. Finish rolling and press gently to seal.
- Keep rolling. Repeat until you have used all the filling. You should get approximately 50 spring rolls, depending on how much filling you place in each wrapper.
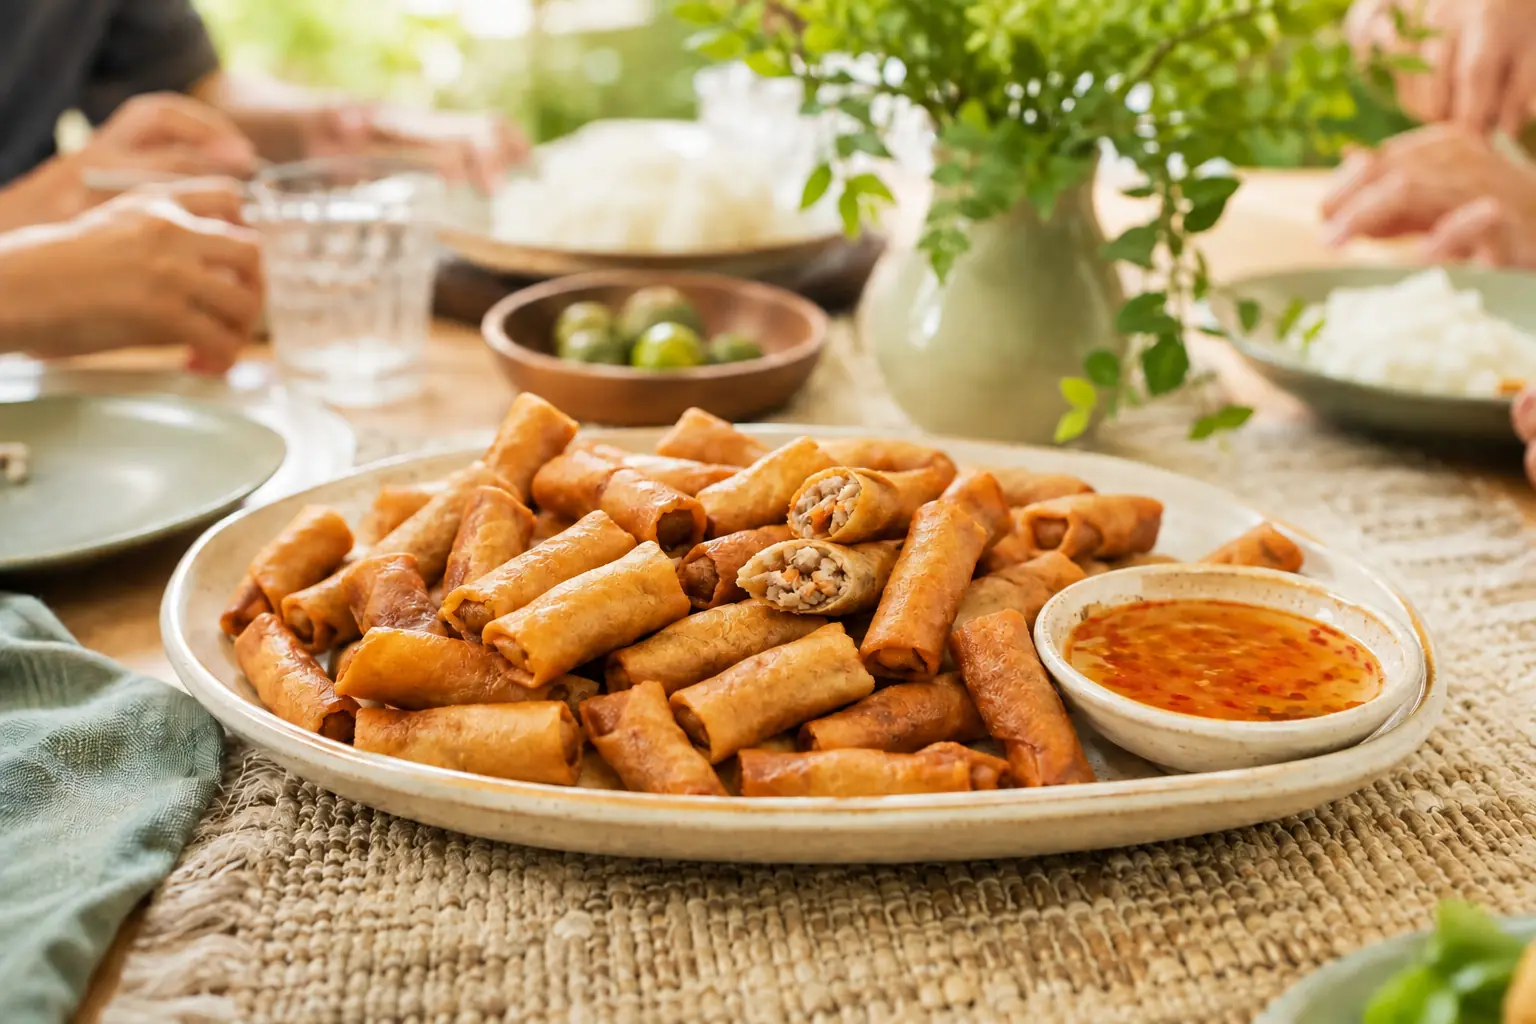
- Fry until golden and crispy. Heat the cooking oil until a small piece of lumpia wrapper sizzles when added without browning immediately. Fry the lumpia in batches, turning as needed, until the wrappers are evenly golden brown and crispy and the pork filling is completely cooked. I judge them by the color and crispness of the wrapper, then cut open or taste one from the first batch to check the filling.
- Let them drain. Transfer the cooked lumpia to a cooling rack. I prefer a rack instead of paper towels because air can circulate underneath, helping the bottoms stay crispy instead of becoming soggy.
Notes
The cooking time is based on frying the complete batch of approximately 50 spring rolls. You can fry only what you need and freeze the remaining uncooked lumpia for later.
Always cook one tester roll before assembling the full batch. Taste it and adjust the seasoning in the remaining filling if needed.
Refrigerate uncooked rolled lumpia in a covered container for up to two days, or freeze in an airtight container for up to one month for the best texture. Fry frozen lumpia directly from the freezer without thawing.